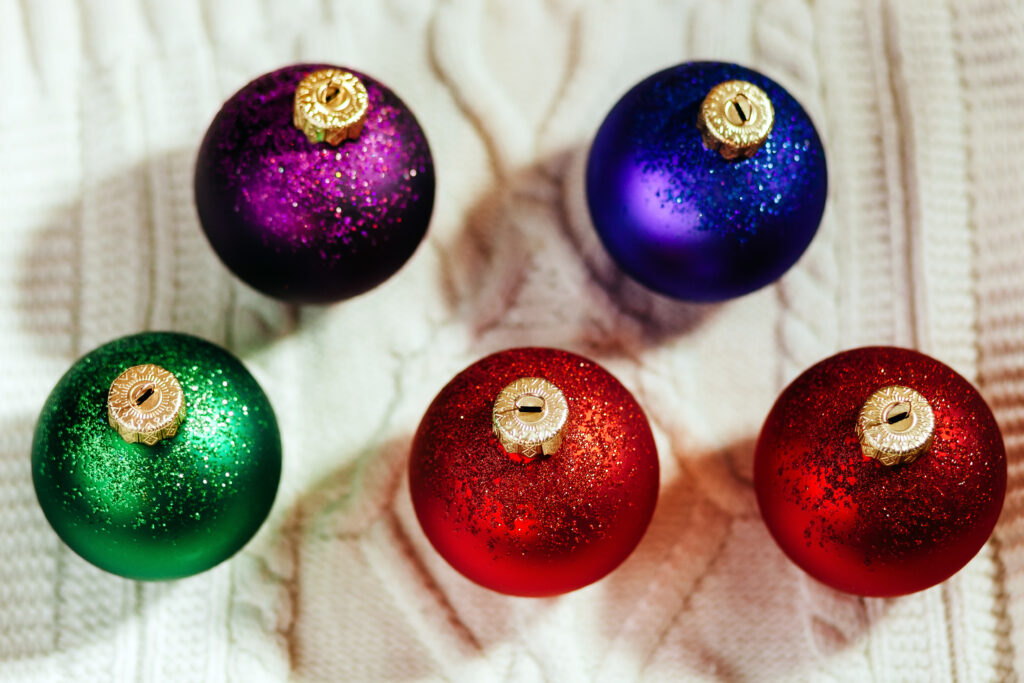
When it comes to adding some beauty to your holiday decor or any special occasion, glitter ornaments are a fantastic choice. They can be customized in diverse ways, making them perfect for gifts and decorations. A famous crafting method for creating glitter ornaments involves using Mod Podge, a wide variety of adhesive and sealant.
Glitter ornaments add a touch of magic and shine to any setting. They catch the light beautifully and create a festive and cheerful atmosphere. These ornaments can be customized in different colors and designs to match your decor or occasion, making them a public-friendly choice for holiday and party decorations. In this article, we’ll look into how you can use Mod Podge for glitter ornaments and provide tips for creating beautiful, long-lasting elements.
What is Mod Podge used for?
It’s a great supply for collage and decoupage projects. You can use it for a variety of other craft projects as well. Anything that would require a medium of lightweight glue (not so hot glue or a super glue), Mod Podge could likely be a perfect fit.
Decoupage is the art of decorating an object with cut papers by gluing them to the object. This can also include adding other stuff such as paint, glitter, gold leaf, etc. The word comes from the French word decouper, which means to cut. Many cultures have used this basic technique to decorate all sorts of objects, including tombs, boxes, windows and even religious items.
Can You Use Mod Podge for Glitter Ornaments? How to Make DIY Glitter Ornaments with Mod Podge
First, you’ll need to grab your tools, materials and supplies.
Materials
- Clear round glass ornaments (I used the flatter round ones); You can usually find these at most craft stores during the holiday season.
- Sparkle Mod Podge
- Vinyl letters
- Glitter: any glitter will do, but usually fine glitter holds better.
- Small funnel: You can always create a funnel with paper, but usually, using a small, plastic funnel would work a lot better.
- Paper shreds (as fillings for the ornament, optional)
Tools
- Wide paintbrush
- Tweezers
Step – by – Step Guide With Glitter
- First, you’ll need to water down your adhesive. Whether you choose to use glue or mod-podge, you want it to be a little bit runny so that it will coat the inside of the ball ornament. To do this, you can use a small bowl to mix glue with small drops of water until you get a runny but still thick texture.
- Next, remove the top cap of the ornament and add a small bit of glue inside.
- Once you’ve added your glue, spin your ornament around until the glue has covered the inside fully. At this point, if you need to add more glue (or a few more drops of water to correct the consistency), you can do that.
- You just want to make sure that the whole inside surface is covered with adhesive.
- Next, add your glitter.
- A funnel makes this significantly easier, but you can also try to funnel the glitter in with paper.
- Once your glitter is in, you want to cover the opening of your ornament and shake, twist, and turn the bauble until glitter has covered the inside surface.
- At this point, just like with the glue, you might want to add more glitter, and that’s fine. Keep adding glitter until the ornament is covered how you like it.
- Re-insert the hook for your ornament and leave the ornaments to dry before hanging them on the tree.
- It is advisable to keep turning them occasionally while they dry to prevent glitter from settling on one side.
Step – by – Step Guide with Vinyl Letter
- Remove the top of the ornament by carefully pulling it out. Clean the ornament’s surface using a cotton pad with alcohol and let it dry. Once dry, attach your vinyl letter, making sure it is centered. Burnish all sides to ensure no edges lift up during the Mod Podging process.
- Use a wide brush to cover the ornament in Sparkle Mod Podge, taking care to not miss any corners and edges. You can apply one thick coat all over the front and back.
- Remove the vinyl letter while the Mod Podge is still wet, using a pair of tweezers or a pointed tool to lift up the edges carefully. Use the same tool to clean up any edges where Mod Podge has seeped through. Stand your ornament upside down to dry.
- Once the first coat is dry, add a second layer of Sparkle Mod Podge, taking care not to go over the monogram’s lines. Let it dry.
- Fill in if desired. Carefully add the paper shreds inside and add the ornament top back on.
Tip: Use a heat gun to help adhere the vinyl to the ornament if it has problems sticking.
Conclusion
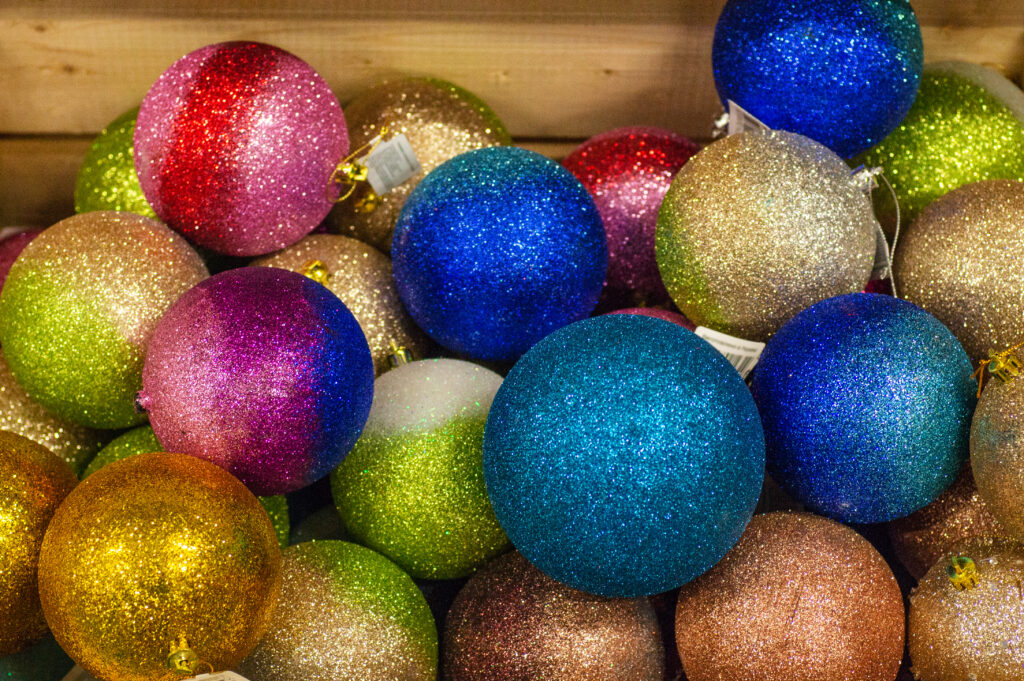
You can use any color glitter you choose because they really are versatile! And if you’re feeling extra crafty, they are perfect to paint.
Imagine hanging these glittering beauties from the branches of your Christmas tree, each one catching the light and reflecting it in a merry dance. With a handful of supplies and a sprinkle of creativity, you’ll find yourself on a merry path to creating something truly magical.
To answer the question, “can you use Mod Podge for glitter ornaments?” Oh Yes! Mod podge can be used for glitter ornaments. There are a variety of ways to do it, in fact. Its diverse creations depend on individual preferences. Glitter ornaments with mod podge make a beautiful handcraft. The projected preparation time is about 2 hours.